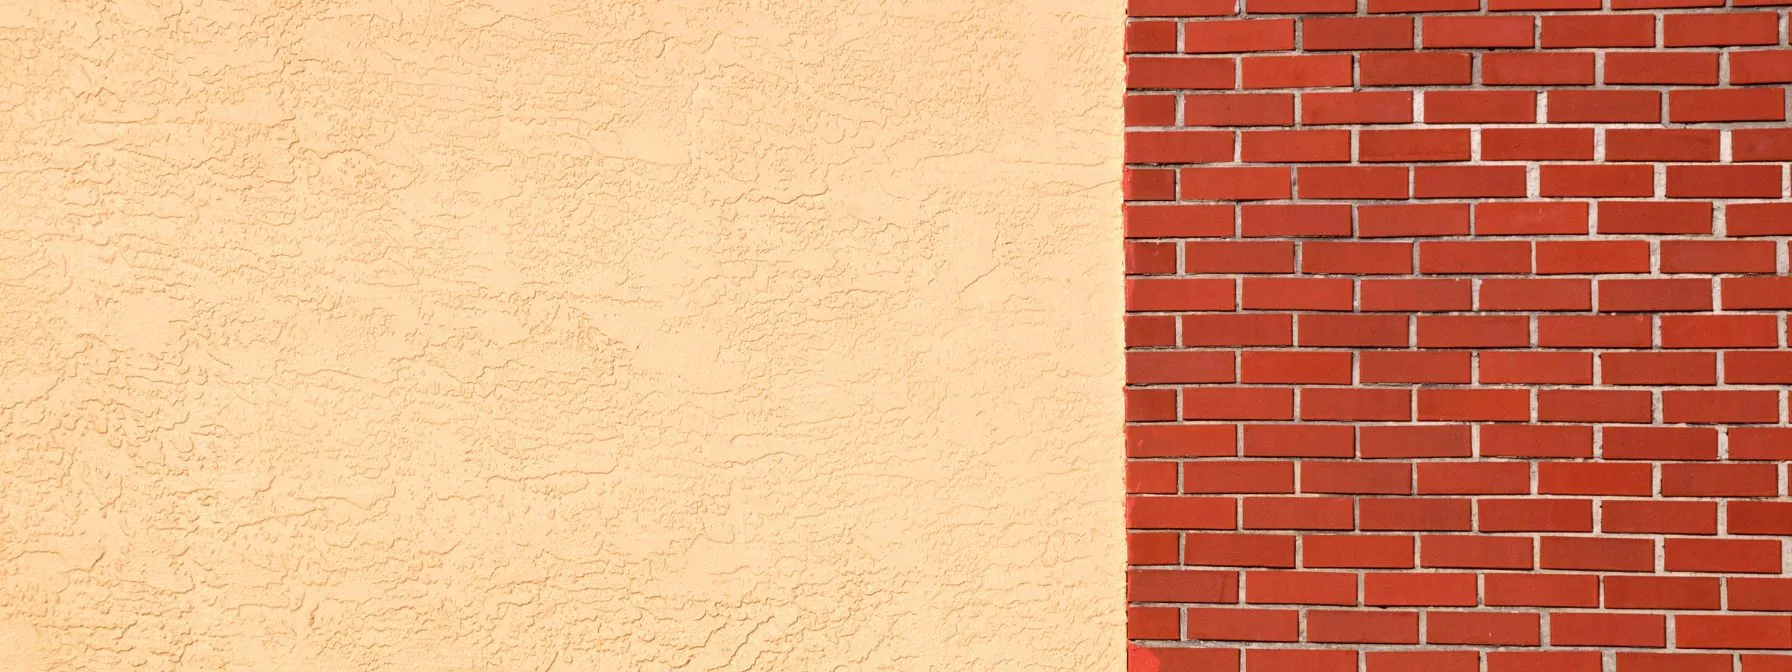
Have you ever been greeted by unsightly holes and cracks in your beloved stucco walls? If so, fear not, you’re not alone. Stucco, renowned for its durability and timeless appeal, can occasionally fall victim to the wear and tear of time and weather. In this comprehensive guide, we’re detailing stucco repair, focusing particularly on how to repair stucco holes effectively
In this article, we’ll explore the steps, techniques, and tips to seamlessly restore the beauty and integrity of your stucco surfaces. Whether you’re a seasoned contractor or a passionate DIY enthusiast, mastering the art of stucco repair is a valuable skill.
Throughout this guide, we’ll not only provide you with practical instructions but also a deeper understanding of the materials and methods involved. You’ll be able to tackle stucco repairs with confidence, ensuring a flawless finish every time.
Preparing for the repair
Preparation is key to achieving professional-grade results when it comes to patching stucco holes. Let’s explore the necessary steps to ensure you’re ready to tackle the task at hand.
Gather necessary tools
To begin your stucco hole repair project, gather the following tools and materials:
· Protective gear: Ensure your safety by wearing gloves, safety goggles, and a mask to shield yourself from debris and dust.
· Stucco patching compound: Select a high-quality stucco patching compound specifically formulated for exterior repairs. Opt for a product that offers strong adhesion and weather resistance.
· Trowel: A trowel will be your primary tool for applying the stucco patching compound smoothly and evenly onto the surface.
· Wire brush: Use a wire brush to clean the area around the stucco hole, removing any loose debris, dirt, or old stucco material. This step will ensure proper adhesion of the patching compound.
· Water: Have a supply of clean water on hand for mixing the stucco patching compound to the desired consistency.
· Painter’s tape: Painter’s tape can be used to create clean edges around the repair area, preventing the patching compound from spreading beyond the intended boundaries.
· Sanding block: Once the patching compound has dried, a sanding block can be used to smooth out any rough edges and ensure a seamless finish.
By gathering these essential tools and materials beforehand, you’ll be well-equipped to tackle the stucco hole repair process efficiently and effectively.
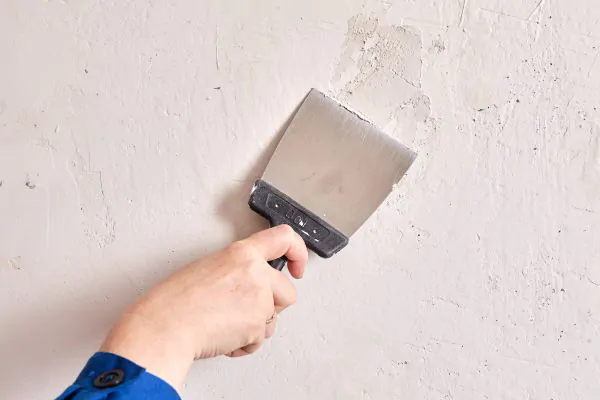
Clean the area
Before applying the stucco patching compound, thoroughly clean the area surrounding the stucco hole. Follow these steps to ensure a clean and debris-free surface:
· Remove loose debris: Use a wire brush to gently remove any loose debris, dirt, or old stucco material from the surface surrounding the stucco hole. Pay close attention to the edges of the hole to ensure proper adhesion of the patching compound.
· Clean with water: Once the loose debris has been removed, use a clean, damp cloth or sponge to wipe down the area and remove any remaining dust or dirt. Allow the surface to dry completely before proceeding with the repair.
Importance of Wetting the Surface for Stucco Repair Success
Wetting the surface is a critical step in the stucco hole repair process, often overlooked but essential for achieving optimal results. This step involves moistening the surrounding stucco surface before applying the patching compound.
When stucco is applied to a dry surface, it tends to absorb moisture from the patching compound too quickly, leading to poor adhesion and a weaker bond. By pre-wetting the surface, you create a more hospitable environment for the patching compound, allowing it to adhere firmly and bond securely with the existing stucco.
To wet the surface:
· Spray with water: Using a spray bottle or a garden hose with a misting attachment, lightly dampen the area surrounding the stucco hole. Be careful not to oversaturate the surface, as excessive moisture can hinder the curing process of the patching compound.
· Allow absorption: Give the water a few moments to be absorbed into the stucco surface. This will ensure that the stucco is adequately moistened without pooling or dripping excess water.
· Check consistency: After wetting the surface, the stucco should appear slightly darker in color. This indicates that it has absorbed enough moisture to facilitate proper adhesion of the patching compound.
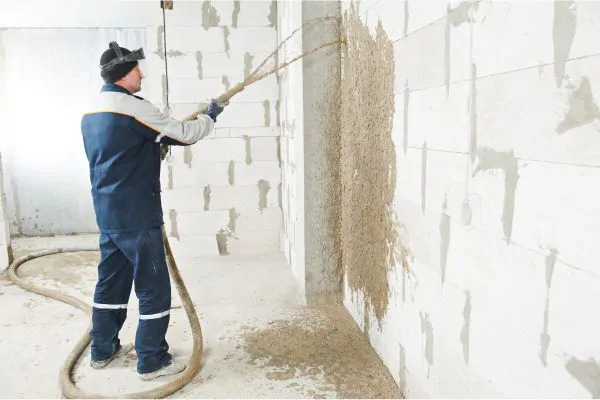
Applying the New Stucco
Mixing and applying the stucco effectively is required for placing a seamless patch on the existing stucco surface.
Mixing the stucco
Achieving the perfect consistency is key when it comes to mixing stucco for patching stucco holes. Follow these steps to ensure optimal results:
· Measurements: Start by carefully following the manufacturer’s instructions on the packaging of your chosen stucco patching compound. Typically, you’ll need to mix the compound with water in specific proportions to achieve the desired consistency.
· Mixing: In a clean bucket or mixing tray, combine the stucco patching compound with water according to the recommended ratios. Use a trowel or mixing paddle to blend the ingredients thoroughly until you achieve a smooth, lump-free consistency.
· Test consistency: To ensure that the stucco is properly mixed, perform a test by applying a small amount to a scrap piece of cardboard or a disposable surface. The stucco should be workable and hold its shape without sagging or crumbling.
By taking care to mix the stucco to the correct consistency, your successful stucco hole repair will blend seamlessly with the surrounding surface.
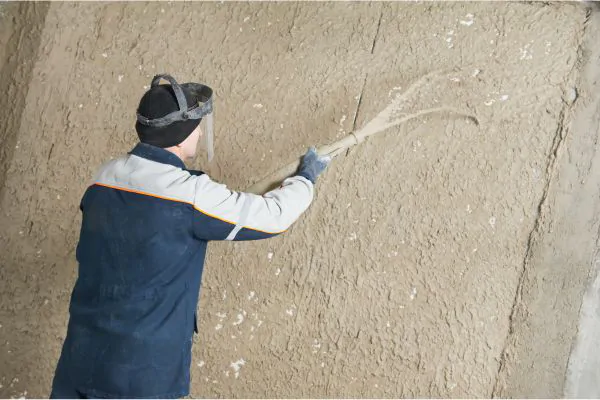
Applying the stucco
With the stucco mixed to perfection, it’s time to apply it to the prepared surface. Here’s how to fill holes in stucco:
· Using the trowel: Load a small amount of mixed stucco onto the flat side of a clean trowel, ensuring an even distribution across the blade.
· Filling the hole: Apply the stucco to the hole in a smooth, sweeping motion, working from the center outward to ensure full coverage. Use firm pressure to pack the stucco into the hole, filling it completely and creating a level surface with the surrounding stucco.
· Feathering edges: To blend the repaired area seamlessly with the surrounding stucco, feather the edges of the patch outward with the edge of the trowel. This will help to create a smooth transition and minimize visible seams.
Allowing the Repair to Dry
Once the new stucco has been applied, allow sufficient time for the repair to dry properly. This step ensures that the patching compound cures fully and bonds securely with the existing stucco surface.
Proper drying time is critical for the longevity and durability of the stucco repair. Rushing this step can lead to premature stucco cracking, sagging, or poor adhesion, compromising the integrity of the repair. By allowing adequate drying time, you allow the patching compound to cure thoroughly, resulting in a strong and resilient finish.
To ensure optimal drying conditions:
· Avoid disturbance: Once the stucco has been applied, avoid touching or disturbing the repair area to prevent any disruptions to the drying process. Keep pets, children, and other potential sources of disturbance away from the repaired area until it has fully dried.
· Provide ventilation: Proper airflow is essential for facilitating the drying process. Open windows and doors to promote air circulation and ventilation, helping to expedite the drying time.
· Monitor humidity levels: High humidity can prolong drying time, so keep an eye on indoor humidity levels and use dehumidifiers if necessary to maintain an optimal environment for drying.
· Check manufacturer’s recommendations: Refer to the manufacturer’s instructions on the patching compound packaging for specific guidance on drying times and conditions. Follow these recommendations closely to ensure the best results.
Painting and Sanding
Now that the repaired stucco has dried thoroughly, it’s time to put the finishing touches on your project with painting and sanding. These final steps are essential for achieving a seamless finish and blending the repaired area seamlessly with the surrounding surface.
Choosing the right paint
Selecting the appropriate paint is key to achieving a flawless finish and ensuring long-lasting durability for your stucco repair. Consider the following factors when choosing paint for your project after you’ve figured out how to fix stucco holes:
· Exterior paint: Opt for a high-quality exterior paint specifically formulated for use on stucco surfaces. Exterior paints are designed to withstand the elements, including moisture, UV exposure, and temperature fluctuations, ensuring lasting color and protection.
· Matching color: Choose a paint color that closely matches the existing stucco surface to achieve a seamless blend. Many hardware stores offer color-matching services to help you find the perfect shade for your repair.
· Finish: Select a paint finish that complements the surrounding area and meets your aesthetic preferences. Matte or flat finishes are popular choices for stucco surfaces, as they provide a smooth, uniform appearance and hide imperfections well.
· Primer: Depending on the condition of the repaired area and the type of paint you’re using, applying a primer may be necessary to ensure proper adhesion and coverage.
Consult with a paint specialist or refer to the paint manufacturer’s recommendations for guidance on primer selection.
By choosing the right paint for your stucco repair project, you’ll achieve a professional-quality finish that seamlessly blends with the surrounding surface, restoring the beauty and integrity of your walls.
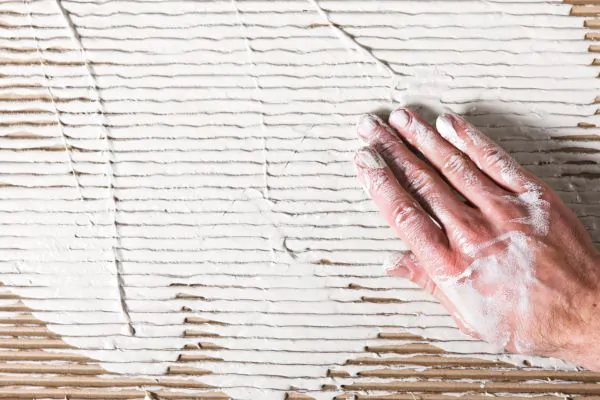
Sanding the repaired area
Sanding helps create a seamless transition between the repaired area and the surrounding surface. Follow these steps to sand the repaired area effectively:
· Wait for a full cure: Ensure that the repaired stucco has dried fully before attempting to sand it. Attempting to sand wet or partially cured stucco can result in damage to the repair and compromise the finish.
· Use fine-grit sandpaper: Choose fine-grit sandpaper (typically 120 grit or higher) for sanding the repaired area. Fine-grit sandpaper will gently smooth the surface without removing too much material or causing visible scratches.
· Sand in circular motions: Using light pressure, sand the repaired area in circular motions, working from the center outward. This technique helps to blend the edges of the repair seamlessly with the surrounding surface, creating a smooth transition.
· Inspect and touch up: After sanding, carefully inspect the repaired area for any remaining imperfections or rough spots. If necessary, lightly sand any areas that require additional smoothing, then touch up with paint as needed to achieve a flawless finish.
Conclusion
In conclusion, stucco hole repair is within reach for homeowners, contractors, and DIY enthusiasts alike. By following the steps outlined in this comprehensive guide, you can confidently tackle stucco repairs with precision and finesse, restoring the beauty and integrity of your walls with ease.
From preparing the surface and applying the new stucco to allowing the repair to dry and completing the finishing touches with painting and sanding, each step plays a role in achieving professional-quality results.